Starting
When the program starts it waits for the user to either load a previously saved document or create a new one. The shortcut for creating a new document is Ctrl+N and for opening a saved document is Ctrl+O.
Creating Objects
To create objects the user has to click on the lower toolbar the button of the desired object (see Figure 1). The buttons are from left to right: Select, Line, Polyline, Rectangle, Polygon and Ellipse. Once the button is clicked the user can click on the canvas and drag the mouse to another point to create and size the object. In objects that allow adding points, such as polyline and polygon, a right click while dragging adds a point.
Once the object has the desired size the user can release the left button. If the object dimension is not the desired one, the object can be resized by moving the blue squares around it. This squares are called “handles” and can be repositioned anywhere inside the canvas.
The ‘Select’ button cancels the creation of an object. As if the user had never clicked on the toolbar.
Changing properties
To change the properties of an object it has to be selected. At this point the user can either right click a selected object to open the popup menu and click on properties. Another way is by double clicking an object. The properties dialog should now have appeared. In the dialog are boxes to change the object properties. Once the properties are modified, clicking on the ‘OK’ button accepts the changes and ‘CANCEL’ rejects it.
Saving and Loading
Saving and loading is done by accessing the menu or using the shortcuts.
Application Screenshots
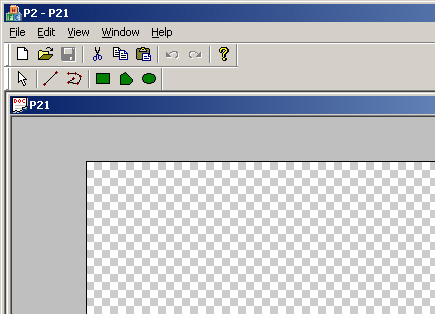
Figure 1. Application screenshot showing an empty canvas.
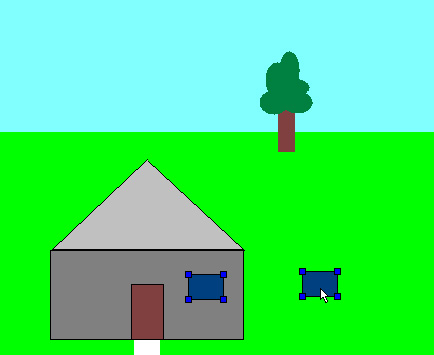
Figure 2. Application screenshot showing a drawing. Notice the multiple object dragging.